The glass panel is now installed into the interior door frame.

Here are some different angles and details:


Very happy with how this turned out, love the bevels and how they create dimension and light play. Really has a lot of movement to it.
The glass panel is now installed into the interior door frame.
Bonding the beveled color pieces onto the clear bevels is now completed.


Yesterday was Day 2 in bonding the color glass pieces on top of the clear bevels. I was able to work an hour and completed 2 of the green ones.


I am hoping to get 1 piece bonded today.
Today is the Autumn Equinox and it was the perfect day to start bonding the beveled color glass pieces onto the clear bevels of the large glass panel I had been working on a few months ago. I am finally at a good point with all that has been happening to start this part of the project.


Very excited about all of the glass color pieces now polished, completed!


Life has been a little hectic lately resulting in being a little behind schedule in beveling the color pieces for the Interior Door stained glass panel. I did start and completed the first phase of beveling (Roughing):

22 of these to bevel, 3 more stages to go. The goal is to have these completed by the end of the week and then clean the panel followed by bonding the color pieces on top of the clear bevels throughout the design.
I have completed the soldering both sides of this large stained glass panel for an interior door.

The pen line on the triangles are for the color pieces that will be cut and bonded. Later they will be bonded on top.
Finally completed piecing together the stained glass panel for the Interior Door!

Far from being completed, next up is soldering all the joints front and back then putty both sides, followed by cutting color glass the size of the middle section of each clear beveled piece. While the putty sets for a couple of weeks I will bevel each color piece, then clean the panel and lastly bond the color pieces on top of the clear bevels. Once that is all completed the installation will happen soon after.
I have been working on the last set of bevels needed to continue and complete piecing together the stained glass panel for the interior door.

I completed the last batch of bevels, pieced together more of the panel.


Here is the progress so far on the Interior Door glass panel:


I am now at a point where I need to create more beveled pieces to continue the process. This will take quite awhile to complete as there are more of them than the first set of bevels that were completed earlier.
The following are images of this current group of bevels that are beginning step 3, pre polish.

The shape on the right with 2 written on it is at the 2nd stage, #3 on the left shows completion of pre polish step.

Completed with pre polish step.
Today I started hand beveling the pieces shown in previous post. This first stage entails getting the initial angles in the glass, grinding glass away to the width and angle desired.


I am starting the process of piecing together the stained glass panel:

 |
Very exciting to be starting this process!
The full scale stained glass design for the interior door is now completed:
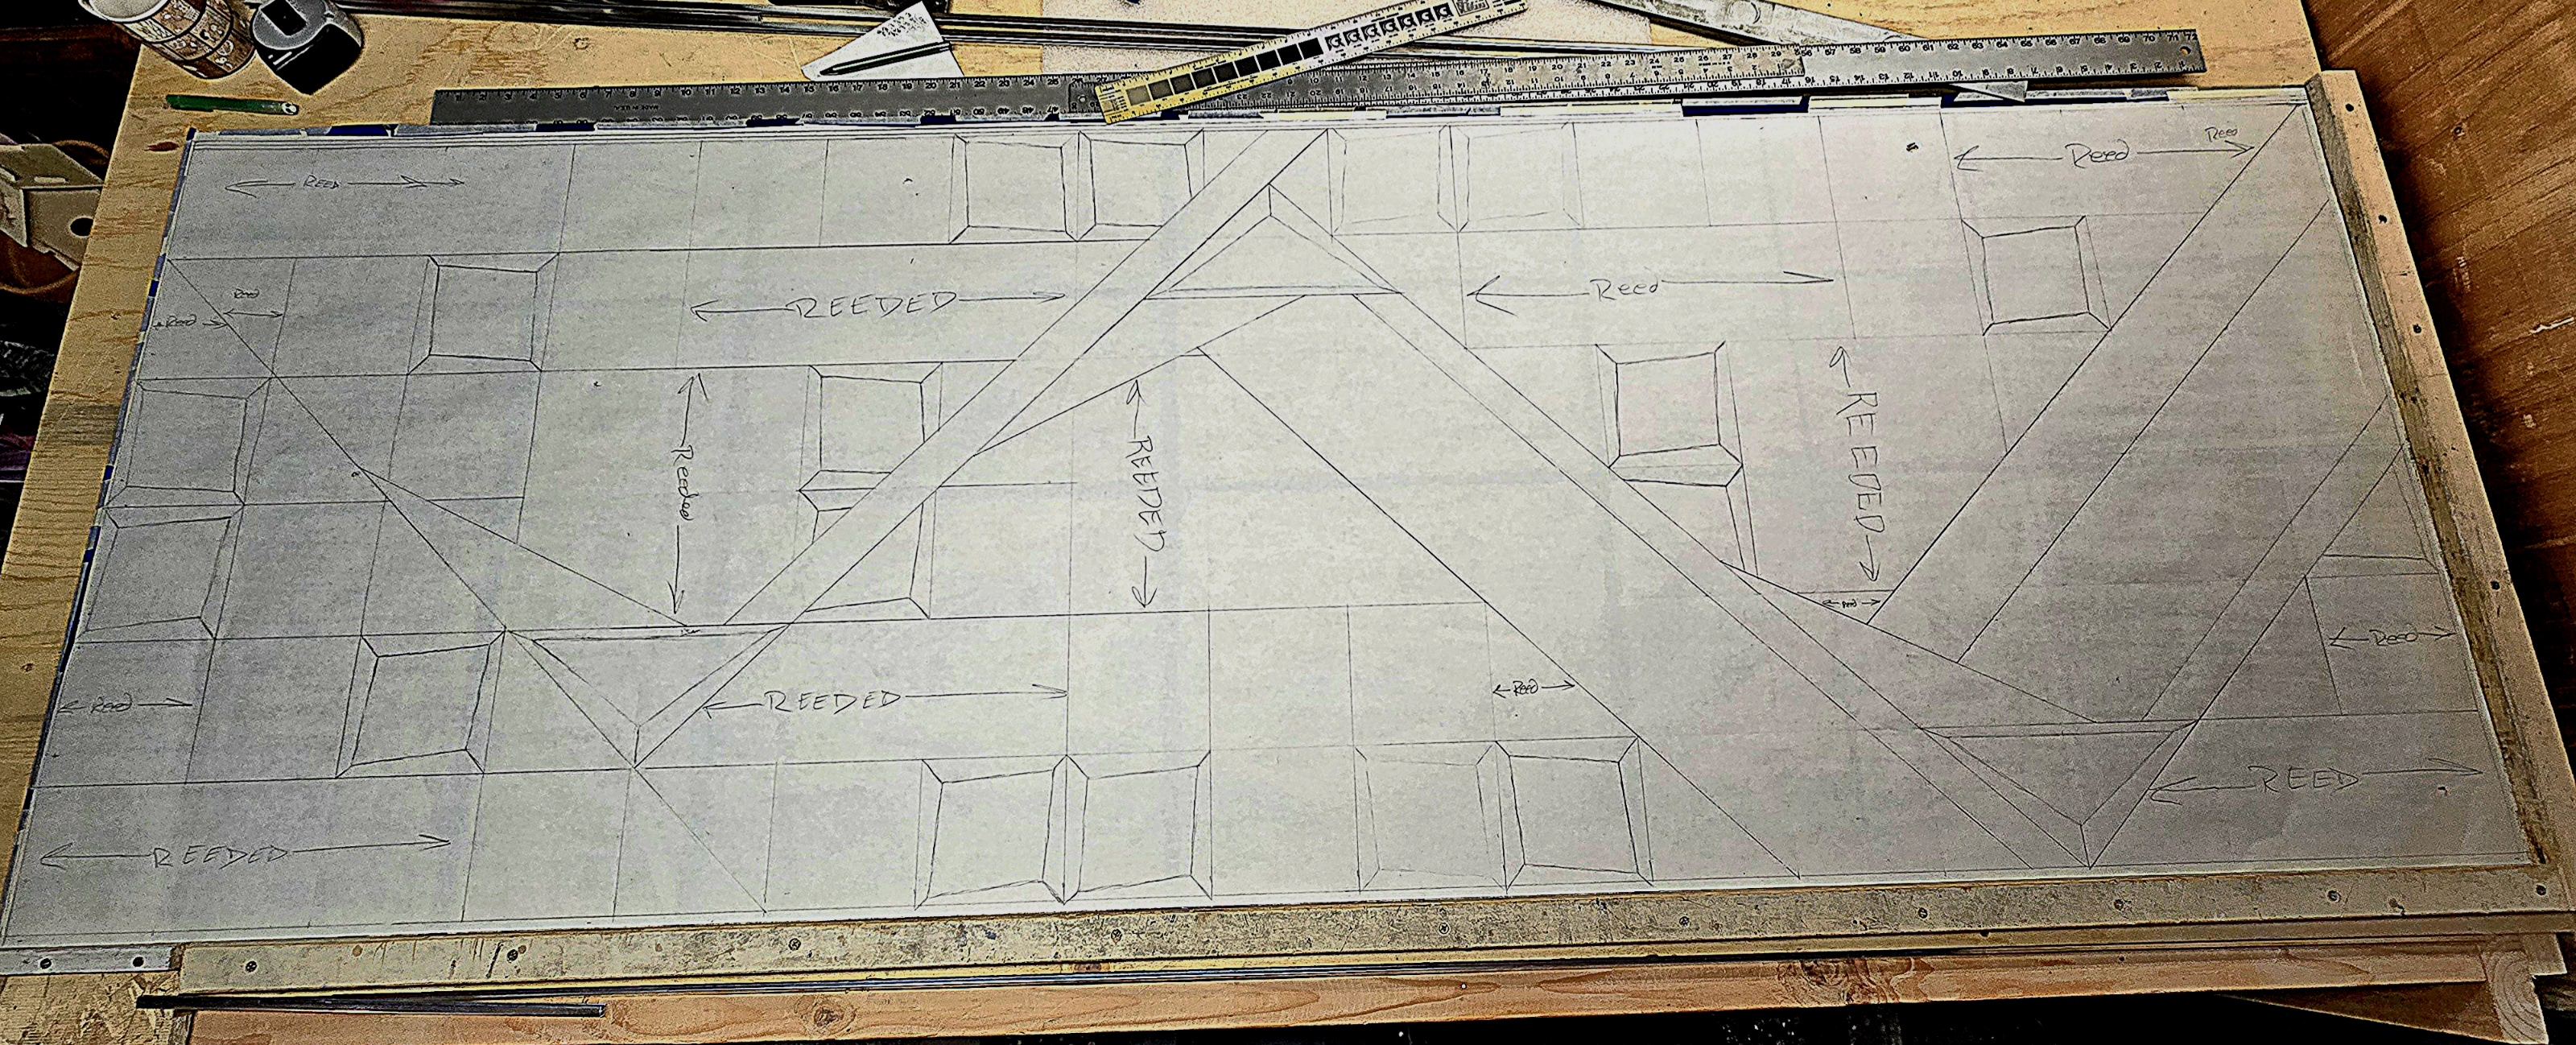

Back in March and April I had posted a design for a stained glass panel to be inset in an interior door. This is the design I posted:

I have since completed the door frame and hung it up:


I colored in different areas with a basic idea for the color scheme.

Here is the design drawn in ink and with bevels. The next step is working on the color scheme.
 |
I have been working on a design for the interior door. Here is the basic outline/design:
 |
I am currently building an interior door frame that will slide along a wall and opening that leads from a large bedroom to a separate area. After door is constructed/painted, a stained glass panel will be inserted into the opening.


The next step is creating a few designs and determine what would look good in the space. I will post as the project progresses.

