Showing posts with label art in process. Show all posts

Thursday, March 12, 2026

Drawing Started for New Painting

 I've had an idea for a new painting for quite awhile and it has been slowly coming together both in my head as well as the design being drawn on the canvas.


The size of this canvas is 60 inches tall by 42 1/4 inches wide. I stretched the canvas and have been slowly working out the design, changing certain aspects as I go.  Even though I have a good image in my head, sometimes the actual supplies I have on hand are slightly different which changes the size and thus the composition.  I am working from a photograph of the pose and have to change certain aspects because a photograph tends to flatten the image and I am drawing and redrawing to create more depth of the figure and surrounding space.

Fun to show the initial aspects of getting the design on the canvas before starting the painting.

Sunday, October 5, 2025

Bonding Glass Completed!

 Bonding the beveled color pieces onto the clear bevels is now completed. 


The panel is still on the table so there is no back lighting.  The following is what the panel looked like before bonding the color pieces on.


Next up is installing the panel into the interior door frame which is scheduled for this coming Friday.

Tuesday, September 30, 2025

Bonding Glass- Halfway through

 I am now halfway through the bonding process.  11 more pieces to go.


Friday, September 26, 2025

Day 4 Bonding Glass

 Got a couple of the triangle shapes bonded on yesterday.

The first image shows the UV adhesive that gets squeezed out and has to be cut and cleaned off.  


The next image is a closeup of the bevel.


Couple different angle shots.  Don't get the full affect until the panel gets installed the the light coming through the glass.


Monday, September 22, 2025

Autumn Equinox and Bonding Glass

Today is the Autumn Equinox and it was the perfect day to start bonding the beveled color glass pieces onto the clear bevels of the large glass panel I had been working on a few months ago.  I am finally at a good point with all that has been happening to start this part of the project.


 My goal is to bond 1 - 2 pieces on the days in which I work 12 hr nights and then on my days off I will do more.  I plan on installing this door panel by mid October.  This is a tedious process and will take considerable time.  The 2 red/orange color pieces took 45 minutes.  The outcome is definitely worth the effort.  

Saturday, May 10, 2025

Glass Colors all Polished!

 Very excited about all of the glass color pieces now polished, completed!


One thing I really enjoy about beveling glass that has different color that is fluid through the center of the glass is that whatever color is under the top/bottom layer pops out in the bevel.  The above pics show how the purple is on surface and is clear underneath which shows up in the bevel.  The next few images show how the white which is fluid through the center of the glass comes out in the bevel sections indicated in yellow. The white flakes on surface of glass is the powder left over from the polishing process.  It will all be cleaned off later.


Side note:  The bright white in the bottom left corner is light reflecting off the glass. The same thing in bottom image left of the yellow circle.


Tuesday, April 1, 2025

Traditional Stained Glass Process- Puttying / Cementing glass panel

 I have been working on puttying the panel and just completed the back side.  This is a traditional process in using either lead came, zinc came, or other type of came that the glass fits into.  There is a space that the putty/cement fills in that used to be for weather proofing a stained glass panel as well as making the panel more secure, stronger.  


I will be cleaning up the excess and let it set for a couple of weeks as it dries.  While that is setting up I will be beveling all the color pieces that will eventually be bonded on top of the clear bevels.


Saturday, March 15, 2025

Last Set of Bevels for Glass Panel

I have been working on the last set of bevels needed to continue and complete piecing together the stained glass panel for the interior door.


The first 2 stages (roughing, smoothing) are complete, 2 more to go - pre polish and polish. 

Saturday, January 25, 2025

Fabrication Progress- Interior Door Glass

 Here is the progress so far on the Interior Door glass panel:


I am now at a point where I need to create more beveled pieces to continue the process. This will take quite awhile to complete as there are more of them than the first set of bevels that were completed earlier.

Tuesday, January 7, 2025

Polishing Bevels

 Begun the process of polishing this current set of bevels:


Once these are all completed I will go back to piecing together the panel in certain sections until I get to a point where I will need to bevel more shapes.  

Sunday, July 21, 2024

Different Stages of Beveling

 Clear bevels completed after 4 stages, roughing, smoothing, pre polish and polish:


First image shows the smoothing and pre polish stages, the bottom image shows polished stage.

The next step was to cut the 4 corner blue pieces and bevel a couple of edges to transition with the adjacent clear bevels and to tie in with the triangular shapes in the star.


Sunday, March 3, 2024

Stained Glass Project for Interior Door

 I am currently building an interior door frame that will slide along a wall and opening that leads from a large bedroom to a separate area.  After door is constructed/painted, a stained glass panel will be inserted into the opening.  


The black metal support at top of opening is where the door will slide back and forth.

The next step is creating a few designs and determine what would look good in the space.  I will post as the project progresses. 

Monday, September 4, 2023

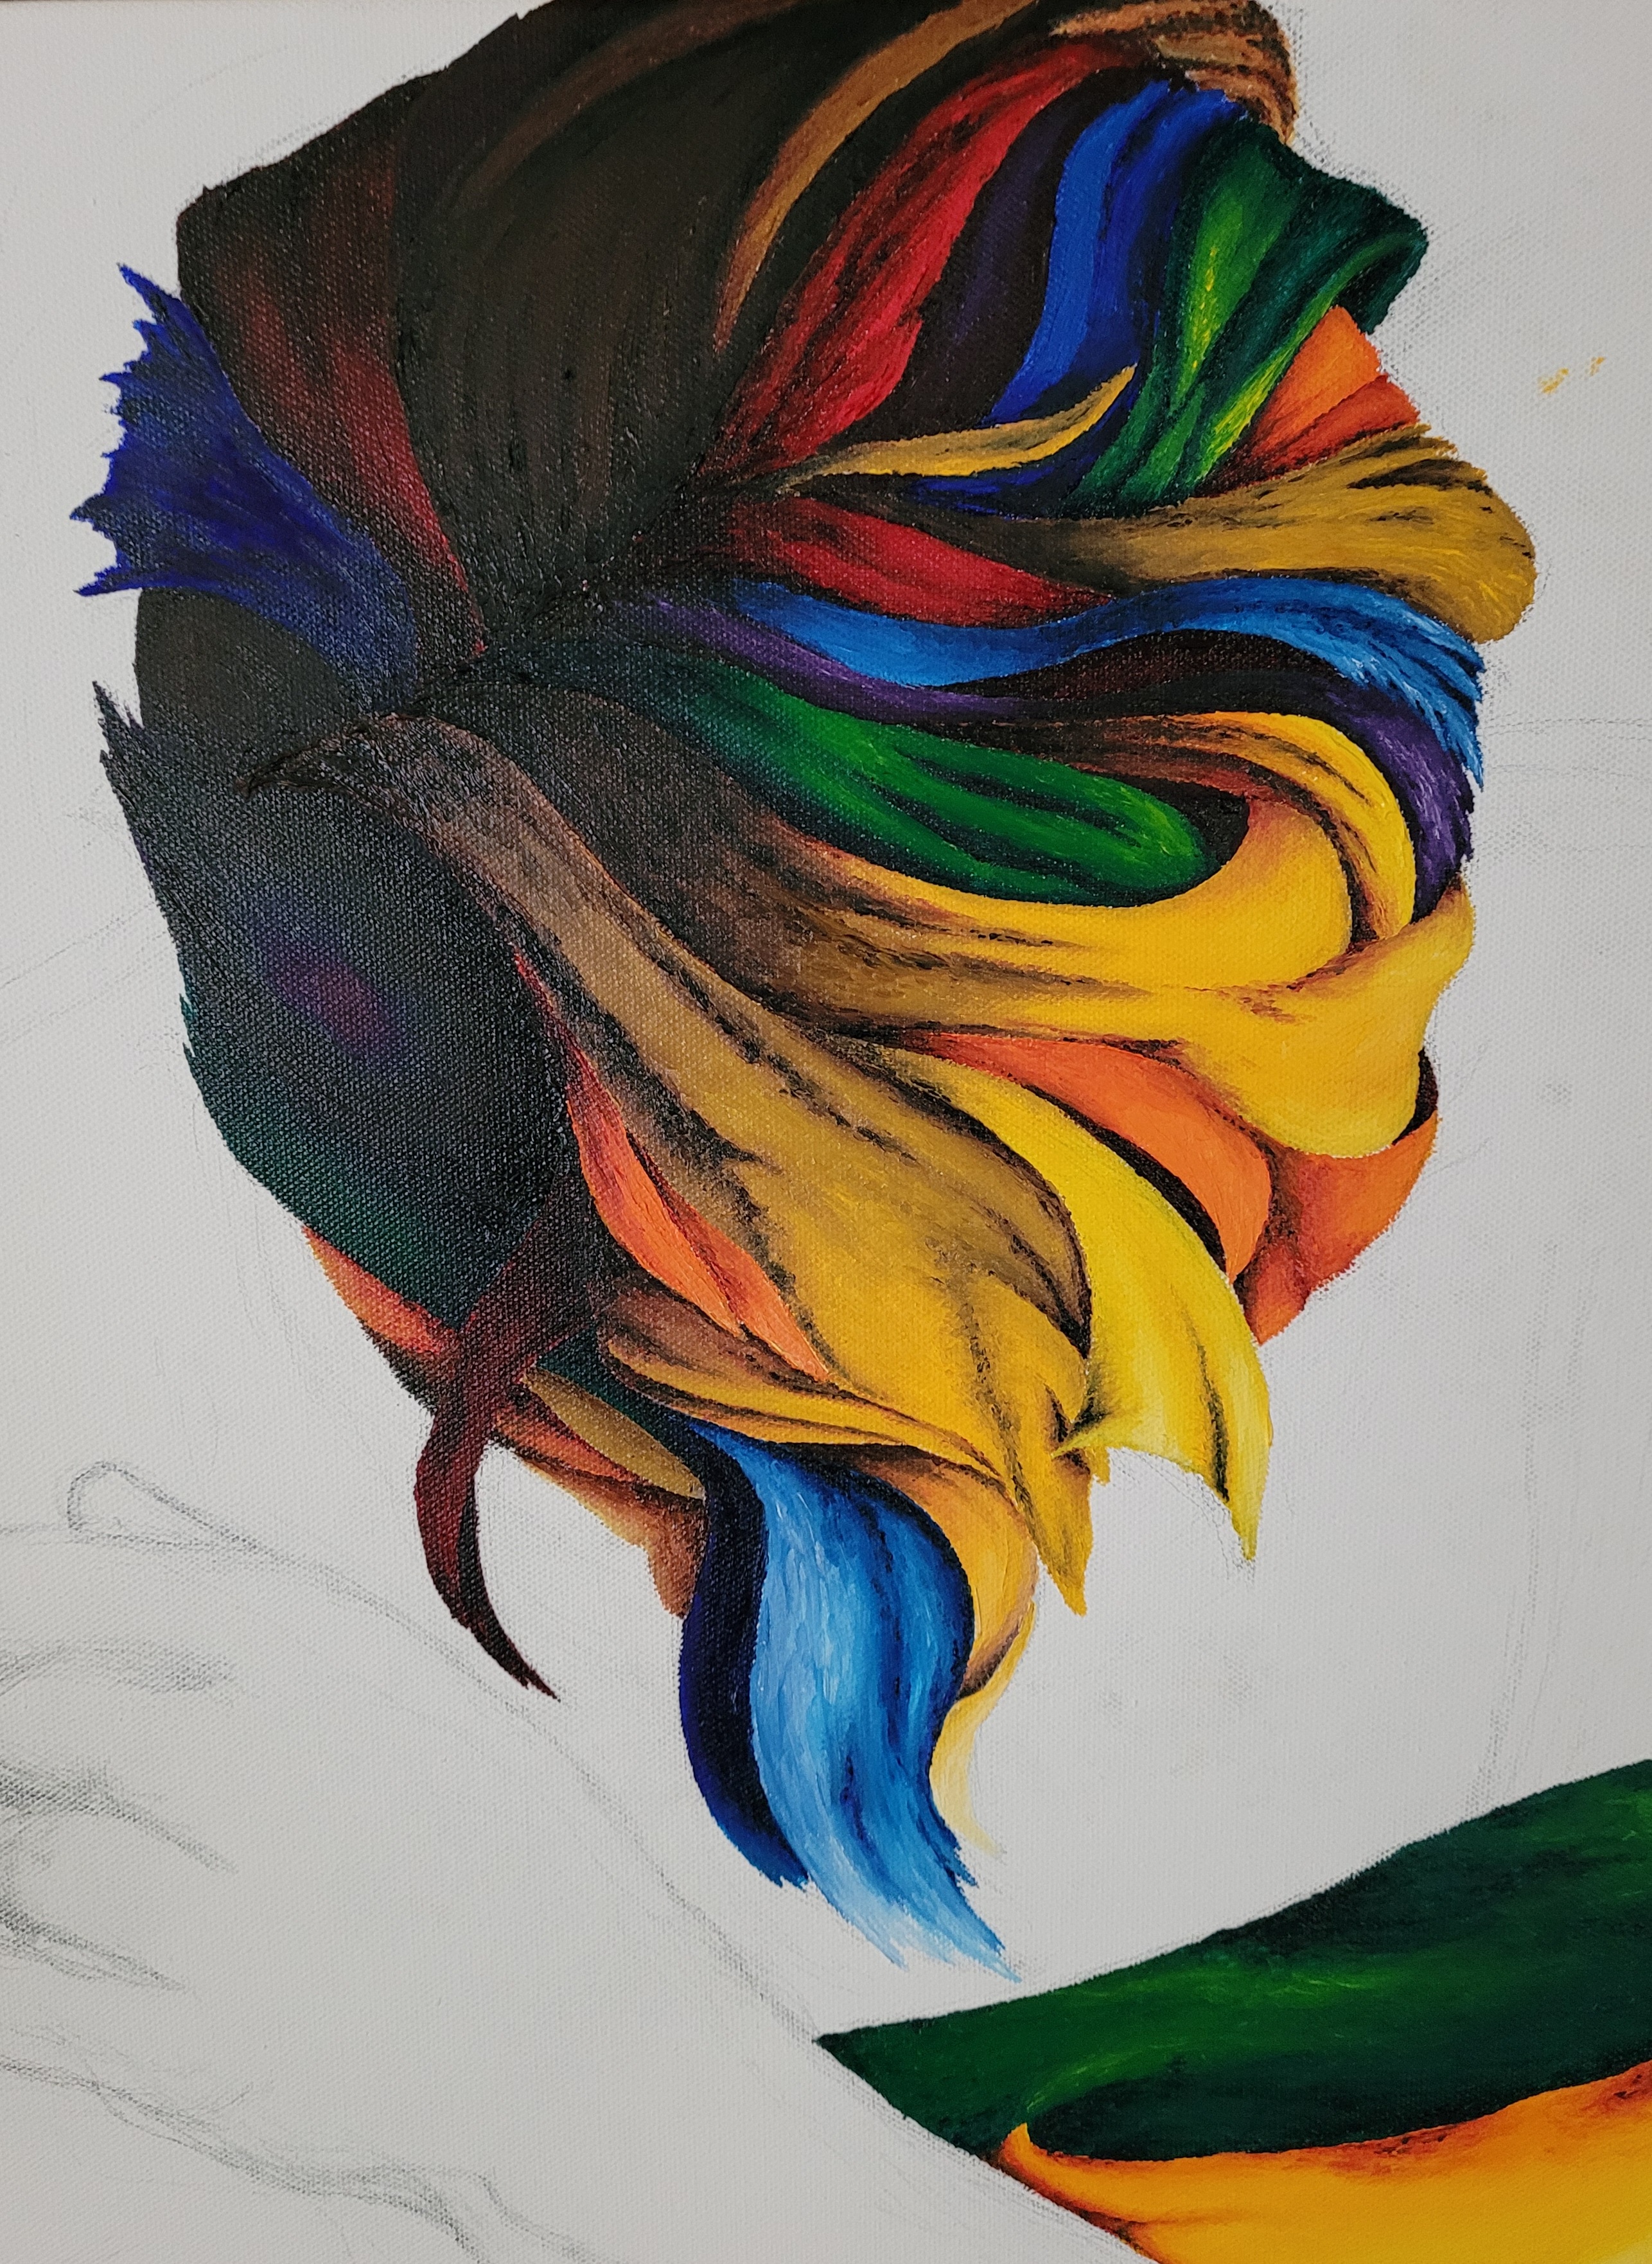
Oil Painting- Moving Along

 My family had different emergencies that pulled us away for awhile. I have been able to paint in-between different things and here is the progress so far.


A couple sections in bottom hand and then start on background.

Monday, July 25, 2022

One Section of Painting Completed

 The head portion of the painting is completed.  It is taking awhile in progression, but I am enjoying how it is turning out.


Difficult to see some of the details in the dark areas due to the sheen of the paint at this time.  Later on it will be better.


Sunday, January 3, 2021

Puttying the Northern Lights Panel

 After cutting out the green triangles, I putty both sides of the panel and have to let it set for a couple of weeks before cleaning.  While it sets I will be beveling the green triangles.


The putty/stained glass cement was traditionally used to weather proof the panel.  It is still done but is more to make the panel more solid and fill in the gap from the glass and came.  It is not needed as a weather sealer because the stained glass panel is not used as the only pane of glass for windows.

Tuesday, December 15, 2020

Northern Lights Design, Soldering

 Now that the panel is all pieced together, the next step is to solder the joints, both front and back.


Getting the panel turned around to solder the back side is a very tricky maneuver for a panel of this size.


Thursday, April 23, 2020

Spot Solder and Finished Solder

Throughout the fabrication of the Hummingbird stained glass panel I am working on I have been doing a "spot" solder in different sections to hold areas together so I can keep piecing it together.  I am now in the process of doing the "finished" solder and wanted to show the difference.  I am explaining this because in pictures of the process there are images of the "spot" solder and I did not want you to think this was a finished solder joint.

The solder joint circled in yellow is the "spot" solder and the one circled in green is the finished solder joint.

Sunday, April 19, 2020

Hummingbird Glass Pieced Together

Here is the panel all pieced together. Next is to add the zinc came around the exterior, solder all joints both front and back, putty both front and back and lastly cleaning after setting for a week.  
I will post image of this panel once it is completed.   


Thursday, January 10, 2019

Commissioned Painting, A Learning Experience

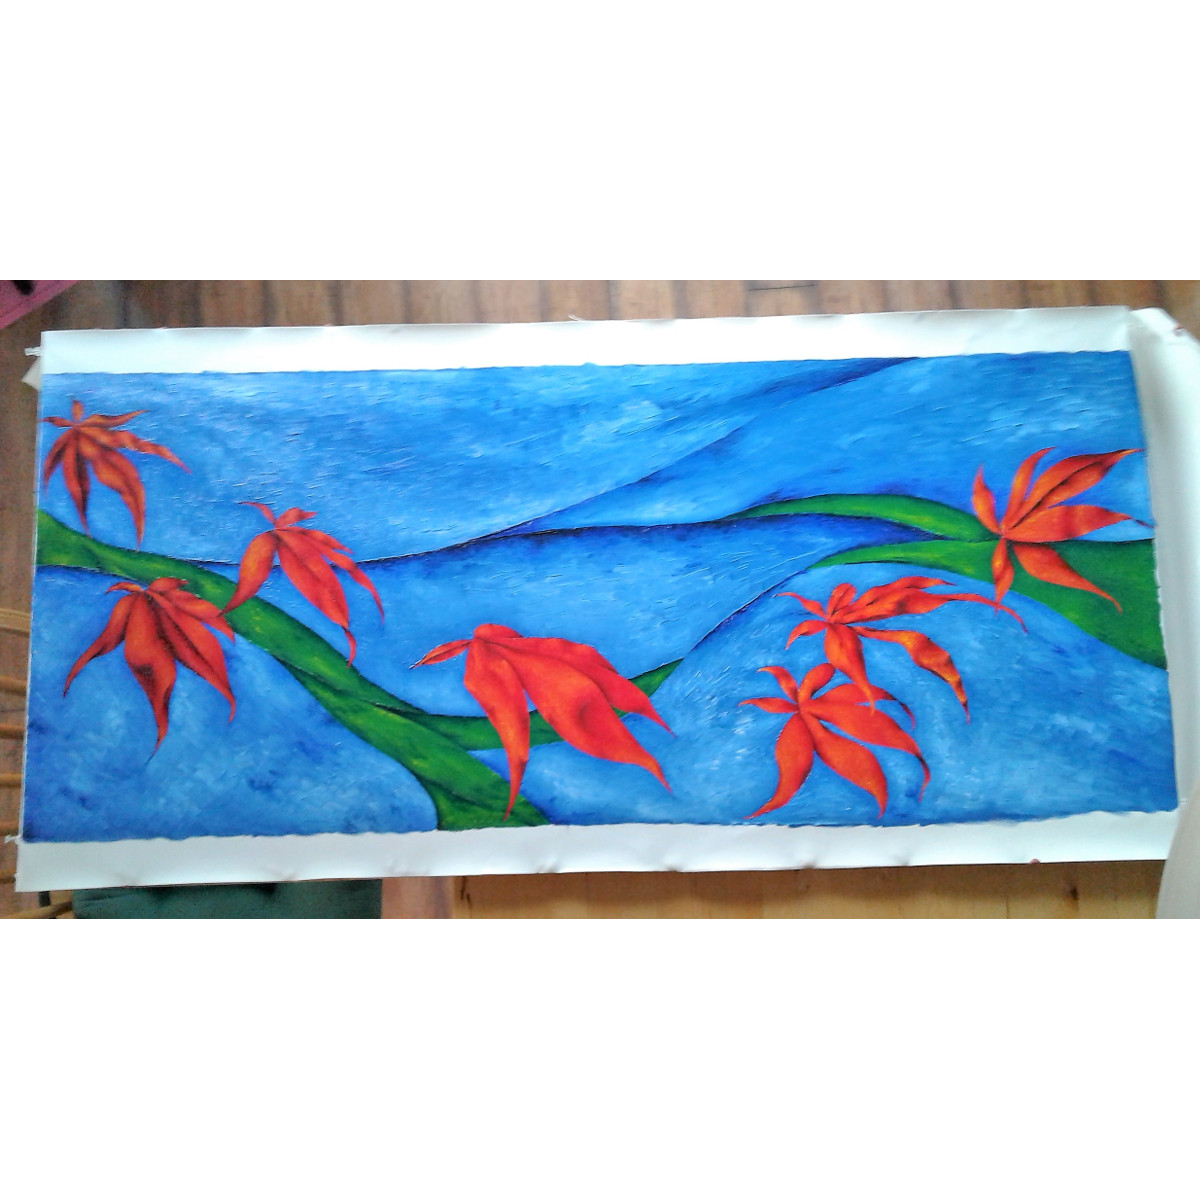
I was approached by someone who really liked my painting style and had an idea for Japanese Maple leaves flowing within a certain dimension.  I was apprehensive at first because I don't do commissions for painting because of what the person has in mind and what I as an artist has in mind are always going to be different.  
I started out with the flowing leaves as follows.


Next was to work on the background.  The client's thought was to have the concept of Autumn sky, clouds all flowing along with the leaves.  I was imagining a lighter and airier blue flowing with implied cloud feel. I felt that since I did all the detail in the leaves with the technique I use the background should not be too heavy. To achieve this I used watercolor instead of oil paint as follows:
I took a good picture and added black to represent a frame.  I liked the flow of the blue and how some color was scattered around to give a light, airy feel to it along with leaving white for cloud feel.  The client was not happy, he wanted more color such as green.  I was definitely confused at this point since the original concept was Autumn sky and cloud feel.  I obliged and used green watercolor scattered around and flowing nicely with the blue.  Client was still not happy.  Apparently, they like my other paintings where I use a lot of bright color and more color.  
I then proceeded to use oil for the background still sticking to the concept.  I split the background design into 5 sections and added green.  I also designed it like I do my glasswork to tie that in. Here is the painting in process, if you look closely in the area yet to paint over, the green that I added earlier can be seen.

Here is the completed painting. 
I do like how it came together.  The colors work well together, the leaves pop out.  I like both the original concept as well as the final.  I don't think I would do this again just because of the difficulty of trying to paint something the way the client imagines it.  I find that as the years pass and the different things I experience or are going through really changes the way I see things and the way I may paint.  The only way I think I would do this is with the total understanding that the way I am painting at that moment may be different than what has been and have a signed contract stating as much.   Otherwise, I will stick to the glasswork being commissioned as it is much easier to give the client a good idea as to what it will look like. 


Thursday, October 4, 2018

Continuing progress of "Circular Movement"

I have completed fabricating the panel and beveling the color pieces that will be bonded on top of the clear bevels.

I find it difficult to get a good photo image of the colored glass, the colors are not accurate.  Once they are bonded on top of the clear bevels I can get a picture with natural light and the colors will be closer to what they actually are.