Showing posts with label art instruction. Show all posts

Thursday, March 12, 2026

Drawing Started for New Painting

 I've had an idea for a new painting for quite awhile and it has been slowly coming together both in my head as well as the design being drawn on the canvas.


The size of this canvas is 60 inches tall by 42 1/4 inches wide. I stretched the canvas and have been slowly working out the design, changing certain aspects as I go.  Even though I have a good image in my head, sometimes the actual supplies I have on hand are slightly different which changes the size and thus the composition.  I am working from a photograph of the pose and have to change certain aspects because a photograph tends to flatten the image and I am drawing and redrawing to create more depth of the figure and surrounding space.

Fun to show the initial aspects of getting the design on the canvas before starting the painting.

Tuesday, September 30, 2025

Bonding Glass- Halfway through

 I am now halfway through the bonding process.  11 more pieces to go.


Friday, September 26, 2025

Day 4 Bonding Glass

 Got a couple of the triangle shapes bonded on yesterday.

The first image shows the UV adhesive that gets squeezed out and has to be cut and cleaned off.  


The next image is a closeup of the bevel.


Couple different angle shots.  Don't get the full affect until the panel gets installed the the light coming through the glass.


Monday, September 22, 2025

Autumn Equinox and Bonding Glass

Today is the Autumn Equinox and it was the perfect day to start bonding the beveled color glass pieces onto the clear bevels of the large glass panel I had been working on a few months ago.  I am finally at a good point with all that has been happening to start this part of the project.


 My goal is to bond 1 - 2 pieces on the days in which I work 12 hr nights and then on my days off I will do more.  I plan on installing this door panel by mid October.  This is a tedious process and will take considerable time.  The 2 red/orange color pieces took 45 minutes.  The outcome is definitely worth the effort.  

Tuesday, April 1, 2025

Traditional Stained Glass Process- Puttying / Cementing glass panel

 I have been working on puttying the panel and just completed the back side.  This is a traditional process in using either lead came, zinc came, or other type of came that the glass fits into.  There is a space that the putty/cement fills in that used to be for weather proofing a stained glass panel as well as making the panel more secure, stronger.  


I will be cleaning up the excess and let it set for a couple of weeks as it dries.  While that is setting up I will be beveling all the color pieces that will eventually be bonded on top of the clear bevels.


Sunday, December 17, 2017

2 Abstract Designs; Geometric design in process

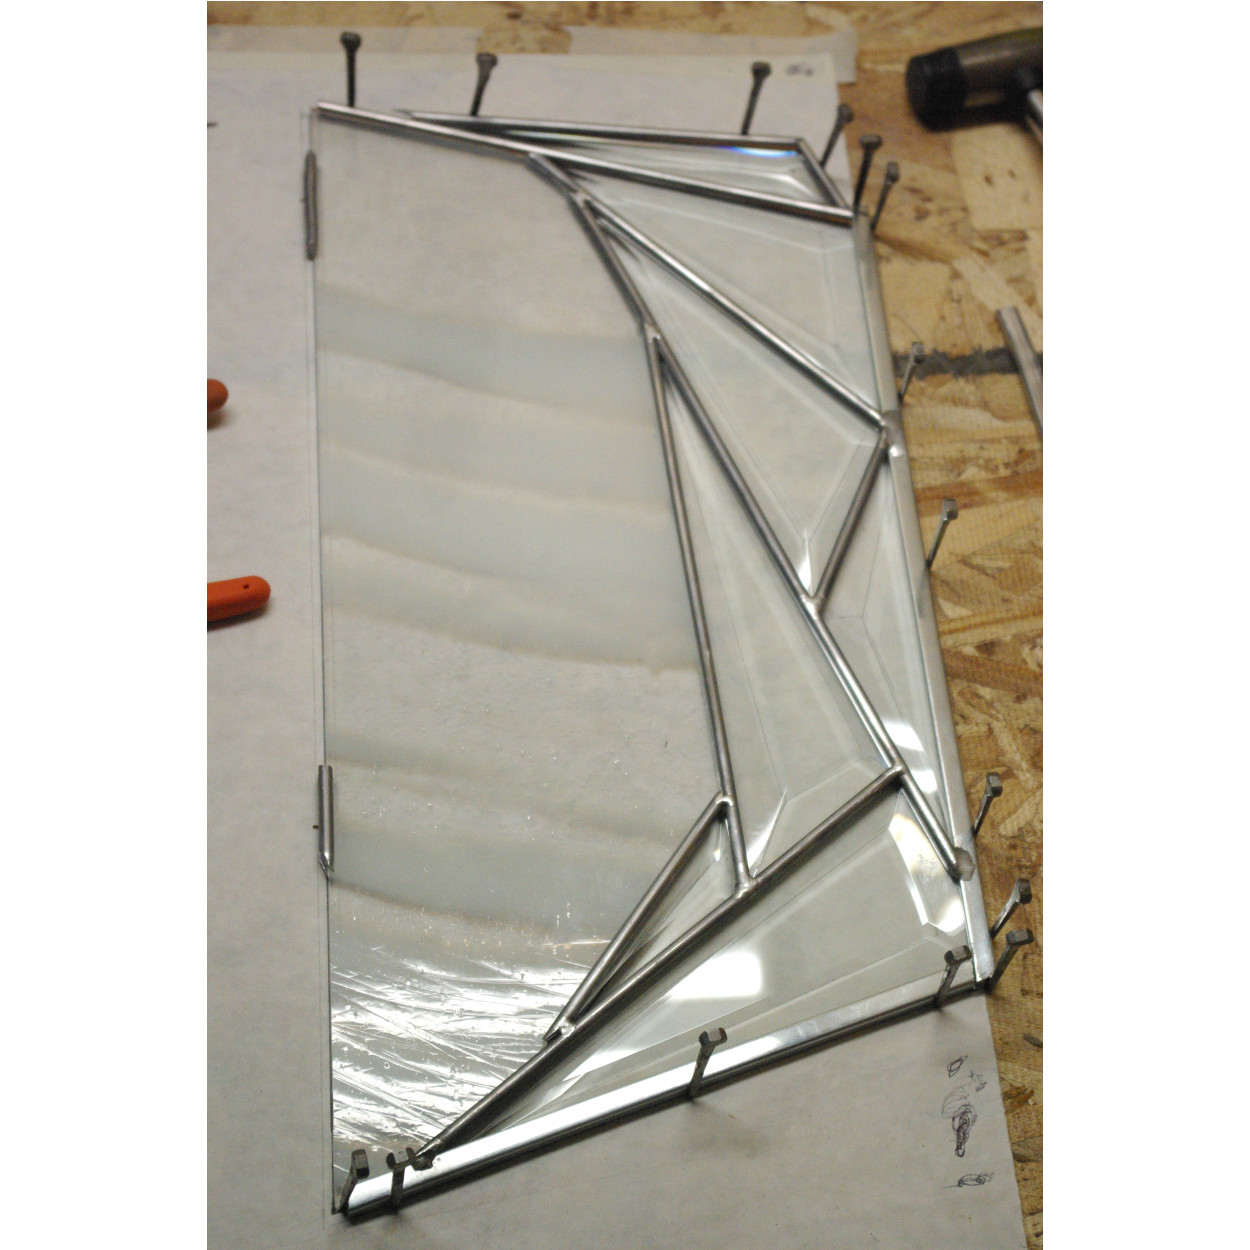
Geometric design in process.  Piecing together the beveled triangles, adding a nice clear piece with white streaks, soldering the joints together as well as the external came.  


Image below: Figuring out the color combo for the top of the triangles.

 Puttying to fill in the space in the came/glass.

 I bonded on the beveled color pieces using Ultra Violet adhesive.


Sunday, November 19, 2017

2 Abstract Designs, Geometric and Flowing

The first picture shows sketches of a couple of couple of designs on blue paper and the finished designs drawn out. I have started on the geometrical design on the right.  The next several pics show the beveling in process and completed. The next to last pic shows pre polish on 2 sides and the polished step on the top side.


Thursday, October 5, 2017

Designing/Fabricatiing Stained Glass for Entryway, part 3

Here is the progression on fabricating the front door panel.  The second 2 pics show details of a couple of glass textures. The last 2 pics also show the joints- the next step is soldering the joints both the front and backside of the panel. 


Thursday, September 21, 2017

Designing/Fabricating Stained Glass for Entryway part 2

Last post I showed the design for an entryway with and without color.  The next several posts will be showing different steps in the fabrication process. This step is showing some of the color and clear pieces that have been hand beveled. If you missed seeing a previous post about hand beveling glass here is a link to the video demonstrating a little of the beveling process youtu.be/823TMbZoNDE 
Here is another link showing a glass cutting demonstration:  youtu.be/2BdC69pmsp4


Monday, September 11, 2017

Friday, September 1, 2017

Glass Cutting Demonstration

I posted a video on You Tube demonstrating glass cutting for stained glass and thicker glass for beveling.  Please view http://youtu.be/2BdC69pmsp4
Enjoy the demonstration and hope it helps, you can always contact me with any questions or clarification.  


Wednesday, August 30, 2017

Glass Textures/colors Dancing

 We have stained glass in our window close to our bathtub and the sun was shining through, casting colors and textures on the window casing and bathtub.  They move, change, and "dance" around.  This was beautiful to watch.