Showing posts with label hand beveled glass. Show all posts

Sunday, January 5, 2025

Glassy Bevels Update

 The following are images of this current group of bevels that are beginning step 3, pre polish. 


The shape on the right with 2 written on it is at the 2nd stage, #3 on the left shows completion of pre polish step. 


Completed with pre polish step.


Monday, September 27, 2021

Stained Glass Yard Banner in Process


 Hand beveling the outside curves and straight edge.  Inside curves will be done next. 

Sunday, April 12, 2020

Hummingbird Window Continued Process

I have been having a lot of fun creating different beveled pieces throughout this hummingbird design to give a lot of depth, dimension and movement.  
The following images show before and after beveling a piece as well as how far along I am on the panel.


I even beveled the small eyes of each hummingbird to give more light play and depth instead of a flat piece of glass.
The solder that is on the joints is only a spot solder to hold things together as I progress on the panel.  I will be doing the actual soldering after it is all assembled.


Saturday, May 25, 2019

"Flowing Blue" Completed

Previous post I showed images of colored pieces being beveled.  One of them was for this small panel I was working on.  Beveling the edges of the color really adds dimension and changes the look, as well as changing the way the light flows through.

Tuesday, September 18, 2018

"Circular Movement" work in progress

I have been working on a smaller glass panel titled "Circular Movement". Here is some of the progress with the bevels and piecing together.


Thursday, March 29, 2018

Beveling Inside Curves of Glass for Transom Window

Outside curves and straight edges are completed, now it is time to bevel the inside curves using upright beveling wheels.


Monday, March 26, 2018

Hand Beveling glass pieces for Transom Window

This is the first step, roughing stage, to get the angle and width of the bevel created.  The next 3 steps are smoothing, pre polish and polish stages to get rid of the scratches in the glass.

Friday, March 23, 2018

Beginning Fabrication of Transom Window

The transom window I had discussed earlier is now at the beginning stages of fabrication.
I am starting out with cutting glass that will be hand beveled.  I start with these because sometimes the shape of them changes slightly and once completed I can draw the actual shape of them on the design before piecing the panel together. There are a few color pieces that I will be beveling a small section of to add more light play, movement and depth.


Thursday, November 16, 2017

Studio Tour!

Last weekend was the Clark County Open Studio Tour.  I had fun showing my work and meeting lots of people.  Some people who came last year also came this year, it was good to see them again.  
I displayed both glass and paintings.  Small glass panels are for sale as well as paintings which make for great gifts! 


Friday, June 23, 2017

Wheat Fields and the Palouse Inspired Design

I was responding to how I was feeling of the wheat fields and the Palouse when I created this piece.  We lived in Spokane, WA for a few years and the rolling Palouse was very beautiful.  
Blown glass as well as textured clear and colored glass were used along with hand beveled and bonded glass.


Sunday, February 12, 2017

Bathroom Window Completed!

I installed the bathroom window last week.  I am very pleased with the way it turned out.  It ties into the space very nicely.

 Top image is the before shot, next one is after install.


I look forward to getting pics of it when the sun shines through it, casting colors and textures around the space.

Thursday, January 19, 2017

Bathroom window continued

The following pictures is of the art glass panel pieced together and details of some of the hand beveled glass.  The next steps are to solder all the joints then cut the colored glass, and putty. Keep in mind that the look of this will be very different when it is in the actual space with natural light. 


The next few images show the colored glass cut for the center of the clear bevels, closer look at the colors, and the last image shows the beveling that will take place for all the colored pieces.


Friday, January 6, 2017

Bathroom Window

I am currently working on a glass panel to go into a bathroom window.  
This is the window in front of a bathtub.

Off to the left through the window a neighbor can see into this space.  The client wants privacy and also to be able to still enjoy seeing the trees in the upper areas of the panel. 

The dimensions are about 46 inches tall by 22 inches wide.  

The following pics show the design drawn out and glass being cut for beveling.  The second pic shows beveling in progress.


The long beveled glass in the last pic is almost 22 inches long.  Some of the sections of glass to be cut in the design showing in the middle pic are going to be very difficult to cut.  I guess I wanted to challenge myself with this project.  

Tuesday, October 25, 2016

Glass for Designs 3 and 4 completed!

Here are the completed panels for designs 3 and 4.

 I really enjoy the way the bevels turned out in the above triangles.  It has a lot more depth and movement changing the width of the bevel.


Monday, October 17, 2016

Designs 3 and 4


These are the last 2 designs of the hanging pieces I am making.  The triangles in the bottom one are beveled glass with colored glass beveled and bonded in the middle.

Monday, September 19, 2016

Design 2 completed!

This is a fun design, hand beveled pieces play with the light.  I did not bevel all around the shape of the glass which really adds interest and depth.  There is a zinc border which is cropped off for the pic.

Wednesday, September 14, 2016

Design 1 completed!

Design one is completed,  using clear textured glass in the main design and a milky glass for the background, the orange/red streaky glass is beveled to add light play and depth.  Zinc came surrounds the piece which is not pictured and a chain on top to hang it up.
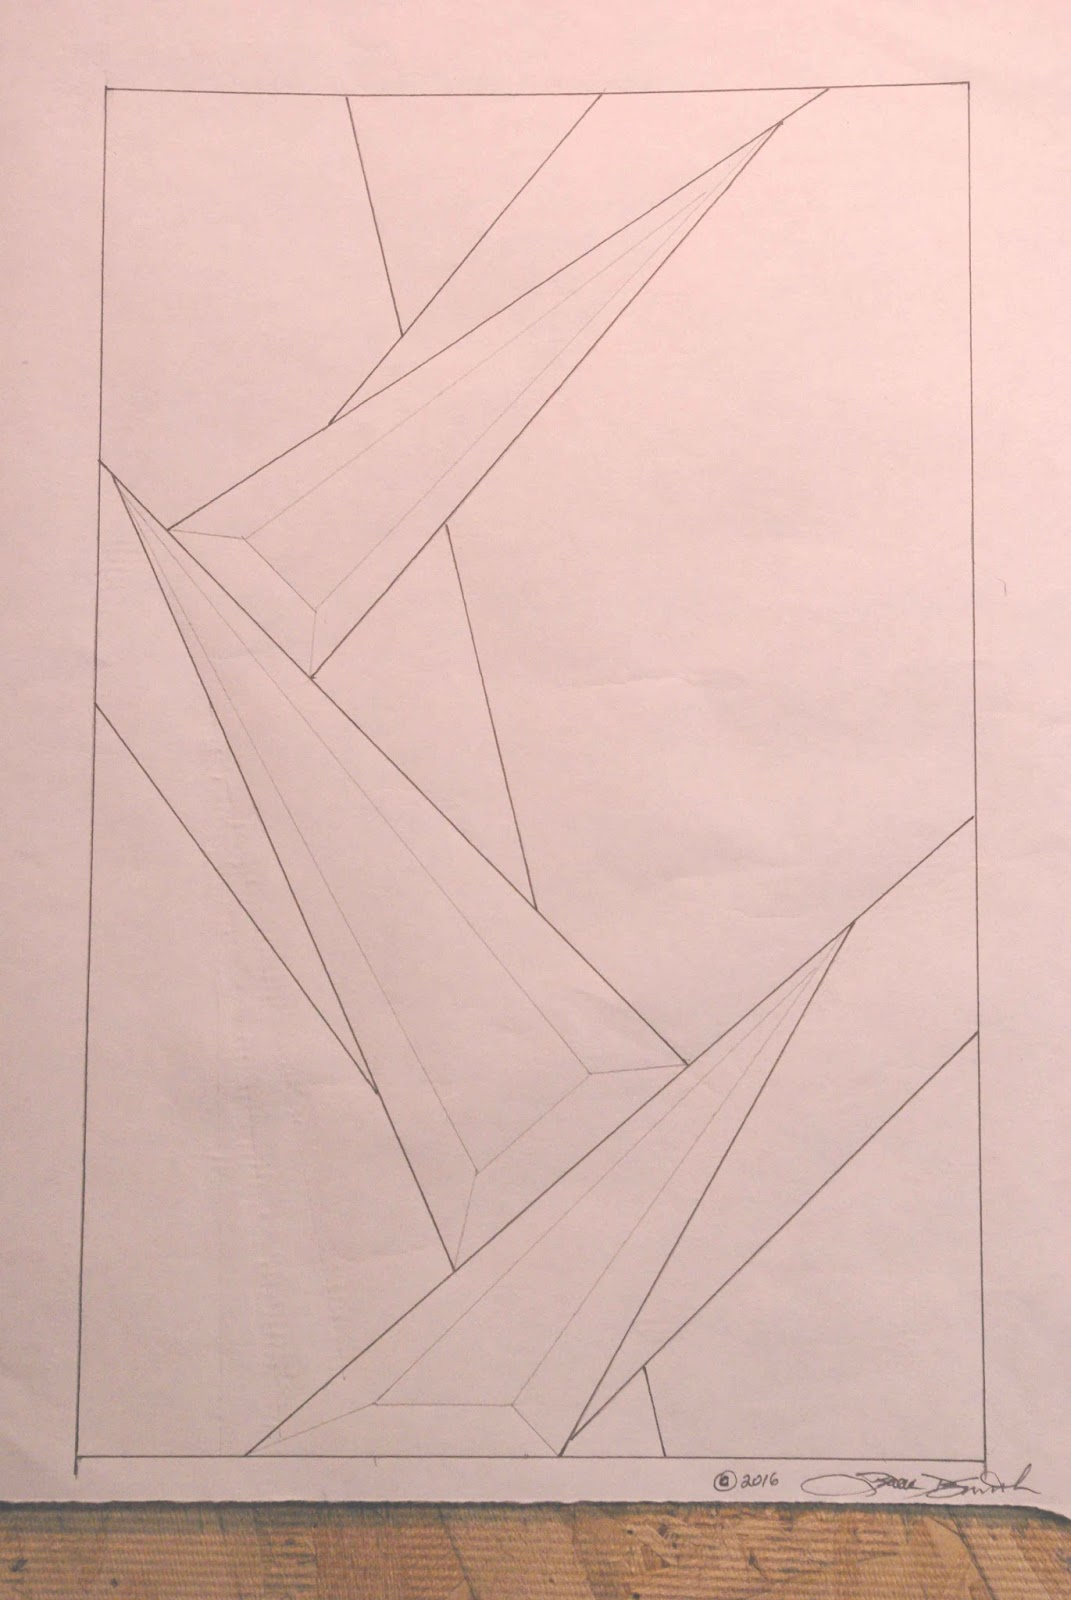

Thursday, August 4, 2016

New Glass Design, 2 of 4

This is the second design I am working on for smaller stained glass window hanging pieces.  I will be showing pics of the glass panels as I complete them.

I drew in where I will be beveling the glass.  I am excited about this design and really like the depth and movement that the beveling will create.

Friday, July 29, 2016

Before/After beveling colored glass


The top pic shows the shapes cut and not beveled.  Below pic shows the same shapes beveled.  The colors that are in the different layers of the glass show through with the bevel.  The bevel also changes the light so the glass shimmers more.  Once these are assembled there is more depth to the overall design as will be shown once the panel is completed.

Monday, March 7, 2016

Church windows completed!

This was an 8 window project for St Peters catholic church in Spokane, WA.  As noted earlier in previous posts about the process I noted that the design was by Joan Smith in Coer d Alene, ID which I also gave input into the design and I fabricated the windows.
They are beautiful in the space which is pretty high up in the entry way. The image depicts the Holy Spirit.  I enjoyed working with Joan and Andi from the church and am grateful for the opportunity to create these windows.

Enjoy!


 The above image shows the panes reflected in glass.


This bottom one shows light scattering from the bevels and the colors/textures when the sun shines through.