Wind flowing through trees has been an inspiration for both my painting and glass work. I love the sound of the leaves rustling, I imagine the wind not only pushing a tree but flowing around the trunk, spiraling the branches, pulling on them. It is more of a flowing through and pulling as it goes through to the other side.
I depicted this in a painting titled Gusty
I love the flow of it. Here are some details
Feel free to leave comments as to what inspires you.
I give physical form to experiences other people cannot ordinarily see. My brand lives where sound, color, light, emotion and material meet. My strongest work follows what genuinely activates my creative response rather than diluting my vision to satisfy trends. I build value through a recognizable artistic universe, deep craftsmanship, meaningful relationships and work unmistakably connected to the way I perceive the world.
Tuesday, July 31, 2018
Tuesday, July 24, 2018
What Inspires You?
For the next several posts I want to share what inspires me in creating oil paintings and stained glass and want to know what inspires you to create or generally what inspires you.
The first thing I will share is that I love bike riding and I find that I will have thoughts pop in my mind of images or ideas of what to create or what to write on the blog. Even if it is just a half an hour I feel refreshed and invigorated. The last ride I had I was inspired to write this blog and what I could share about certain paintings and glass projects I have had.
I look forward to hearing what inspires you.
Tuesday, July 3, 2018
July 4th Celebrations
I am wishing you all a fun and safe July 4th celebration. I am going to enjoy a few days off this week and relax.
Monday, July 2, 2018
Shopping for New Paint Brushes
After the last couple of paintings and using brushes that were frayed a little too much I decided to go get some new brushes.
I always enjoy shopping for new art supplies. I have not used this brand before so hopefully they work well for me.
Wednesday, June 27, 2018
Upcoming Art Shows
I have a couple of shows/events coming up in the next few months that I want to inform you of and hope that you can attend.
The first is First Friday in Vancouver Washington on Friday August 3 at Windermere Real Estate at 210 E 13th St, Suite 100 Vancouver, WA 98660. I will give the hours when the date gets closer.
The second is the Clark County Studio Tours the first weekend of Nov 3-4. This event showcases 50 artists who open up their studio for the weekend.
At both events I will be showing and have original oil paintings and stained glass for sale as well as photos of stained glass that has been installed in various client's homes.
Please reserve these dates, I would enjoy seeing you.
Thursday, June 7, 2018
Glass Repair for Kitchen Cabinet
I received a call about a broken piece of glass in a kitchen cabinet and it was such that I could do the repair. I don't talk about repair much so I thought I would share this. I may post other repair work in the future. A corner piece was cracked so I took out the broken pieces as shown in the upper right of the top picture. The panel was pieced together using copper foil and soldered together. I had to remove the copper foil of the good sections of glass that joins the replacement glass and re-foil them. I foiled the new piece and then soldered both front and back. After completing the repair I remounted it into the cabinet frame.
Friday, June 1, 2018
In the Studio- beveling glass
I had to take a studio picture to submit when I applied for the Clark County Open Studios Tour and thought I would show it here.
This is where I bevel the inside curves of different glass shapes. I use a flat wheel located in a different area for beveling straight edge and outside curves.
Labels:
beveling,
Glass Beveling,
In the Studio,
Studio
Monday, May 21, 2018
Client Response from Transom Window
After installing the transom window I heard from the owners and they talked about how much they loved the window. I asked them to write something pertaining to the process and this is their response:
I am very pleased that they are enjoying the window and that they will for many years to come.
Isaac kept our vision in focus all the time and was very easy to
work
with; answering all of our questions, explaining the process, and
offering his artistic advice.
We visited his studio various times to
view progress, and together, adjust/tweak/update the work as we
saw it
come to fruition. We are so pleased with the outcome and are
enjoying it
tremendously! Our window is the artistic touch we were looking for
in
our home! Isaac created a custom piece that reflects us!
Val Hambley and Kenn Wong
Battle Ground, WAI am very pleased that they are enjoying the window and that they will for many years to come.
Saturday, May 19, 2018
Transom Panel Completed and Installed!
The arched transom stained glass panel that I have been showing different stages of is now completed and installed.
Here is a picture of the transom window above the client's front door.
And now the transom window with the stained glass panel along with some detail shots.
What a difference it made having the stained glass in place. It softens up the grids, the lighting and really plays with the light. The colors compliment the surroundings, the different wood tones, colors they have in their décor. I am very pleased with the results as are the client.
Tuesday, May 8, 2018
Hand Beveleling and Bonding Glass for Transom Window
After Cleaning the panel, I draw the center portion of the clear bevels and cut out colored glass to be hand beveled and bonded onto the clear bevels.
The above picture shows the bevels at the first or rough stage. 3 more stages to take it through polishing.
After applying the UV adhesive, a UV lamp cures and bonds the glass together.
Labels:
beveled glass,
fabrication,
Stained glass,
transom window
Tuesday, May 1, 2018
Starting to Clean the Panel for the Transom Window
Starting to clean the stained glass panel for the transom window. I use a horseshoe nail to clean out the putty along the came as it oozes out during the drying process.
Thursday, April 19, 2018
Puttying the Transom Window and historical use
Today I finished puttying the panel for the transom window, it now has to set up for a week or two before cleaning. Historically this was done for stained glass windows to weather proof the window as it was the only thing blocking the outside weather from the building interior. Today stained glass windows are either mounted on the inside against a thermopane window or suspended or sandwiched between tempered glass. This process is still done because it fills the space that is in the channel where the glass fits in. It also makes the panel more solid.
Labels:
fabrication,
putty,
Stained glass,
stained glass history
Tuesday, April 17, 2018
Soldering the Transom Window
The next step after piecing the panel together is to solder the joints.
Initially, roughing the surface is needed followed by adding flux so the solder will flow and finally soldering.
Labels:
fabrication,
Glass,
soldering,
Stained glass,
transom window
Thursday, April 12, 2018
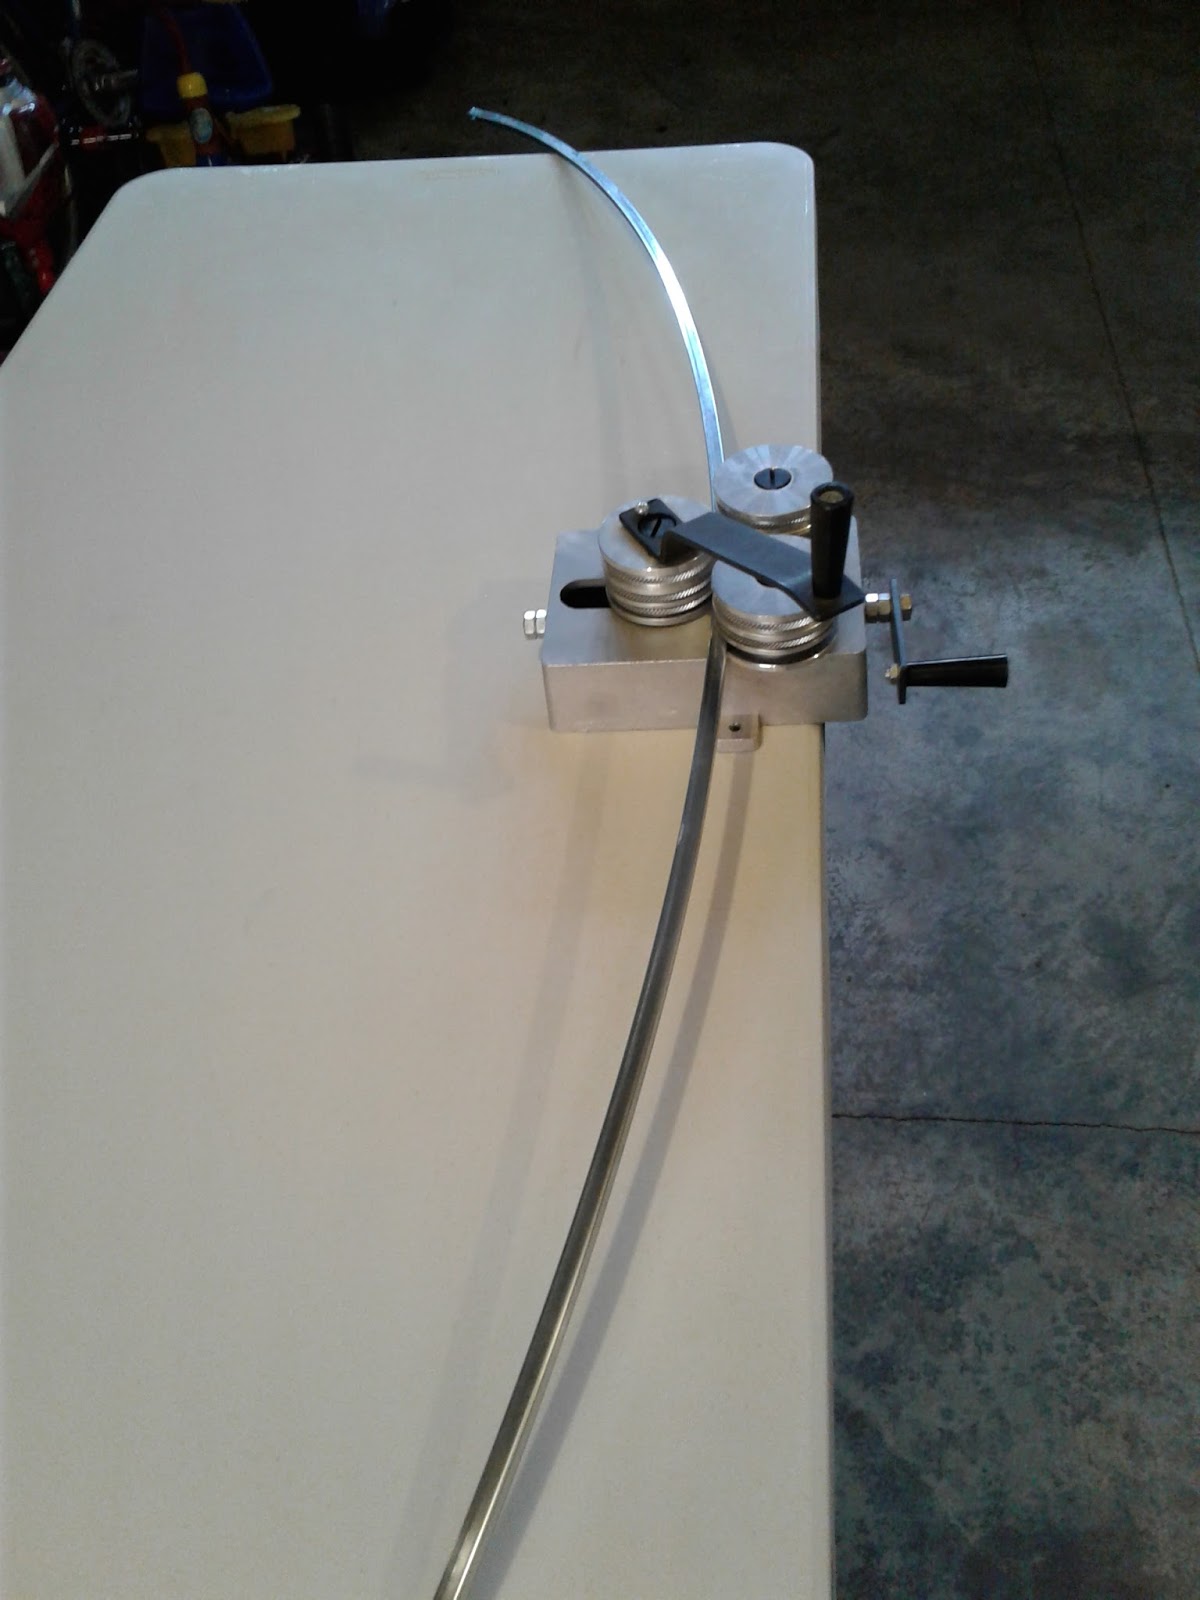
Bending the Zinc Came and Compled Piecing theTransom Panel
The last step to finishing piecing together the panel is to bend the zinc outer bar came to fit the top arch.
After bending the came I then fit it on top of the panel, cutting the ends to fit.
The next step will be to solder the joints and then putty the whole panel.
Labels:
art in process,
Custom Entryway,
fabrication,
Stained glass,
transom
Tuesday, April 10, 2018
Process of Cutting the Glass Shapes for the Transom Window
I thought I would share some of the steps in cutting the glass in the shapes needed for the Transom Window I am working on.
When using transparent glass, whether clear or colored, I set a piece on top of the shape that I will be cutting. I draw a line on the glass over the came where the glass will set in.
Using a glass cutter I score a line into the glass over the ink line I drew out.
I break off the part not needed and repeat with the lower section.
I set the piece into the channel in the came, making sure everything fits and then draw the rest of the shape on the glass. I draw the line to the inside of the shape from where the line is drawn out on the paper because the lines drawn on the paper is the center of the came. If I cut the glass to the exact lines on the design the whole panel would get pushed out and become too large.
Everything fits! Next step is to add the came and work on the next piece.
Monday, April 9, 2018
Progress for the Day on Transom Window
I had just about 2 hours to work on the panel for the transom window today. I feel good about the progression from where I left off last week. I wanted to do more, oh well!
Thursday, April 5, 2018
Beginning Fabrication of Transom Window
I have been feeling sick this last week so I was not able to begin piecing together this window when I wanted to, but I started today which was great!
Here are a couple pictures of the progress.
I will be showing more as I keep piecing together. There will be more color pieces and after completion I will be beveling color pieces and bonding them onto the clear bevels. I am using 2 different clear textures, Spectrum Waterglass and GNA antique.
Here are a couple pictures of the progress.
I will be showing more as I keep piecing together. There will be more color pieces and after completion I will be beveling color pieces and bonding them onto the clear bevels. I am using 2 different clear textures, Spectrum Waterglass and GNA antique.
Labels:
Entryway,
fabrication,
home décor,
interior design,
Stained glass,
transom,
transom window
Friday, March 30, 2018
Bevels for Transom Window Completed
These are just a few of the bevels that I have been working on for the transom window. Now that these are completed I will begin fabricating the panel.
Before piecing together the panel I lay out the bevels and draw the actual shape to make sure everything will fit correctly and the shape is drawn correctly. Sometimes I have to grind some edges of the glass due to shards sticking out from the scoring/breaking process which will change the shape slightly.
Labels:
beveled glass,
bevels,
Custom,
design,
Entryway,
fabrication,
home décor,
interior design,
Stained glass,
transom,
transom window
Thursday, March 29, 2018
Beveling Inside Curves of Glass for Transom Window
Outside curves and straight edges are completed, now it is time to bevel the inside curves using upright beveling wheels.
Labels:
art in process,
beveling,
fabrication,
hand beveled glass,
Stained glass
Monday, March 26, 2018
Hand Beveling glass pieces for Transom Window
This is the first step, roughing stage, to get the angle and width of the bevel created. The next 3 steps are smoothing, pre polish and polish stages to get rid of the scratches in the glass.
Labels:
bevels,
hand beveled glass,
Stained glass,
transom
Friday, March 23, 2018
Beginning Fabrication of Transom Window
The transom window I had discussed earlier is now at the beginning stages of fabrication.
I am starting out with cutting glass that will be hand beveled. I start with these because sometimes the shape of them changes slightly and once completed I can draw the actual shape of them on the design before piecing the panel together. There are a few color pieces that I will be beveling a small section of to add more light play, movement and depth.
Subscribe to:
Posts (Atom)