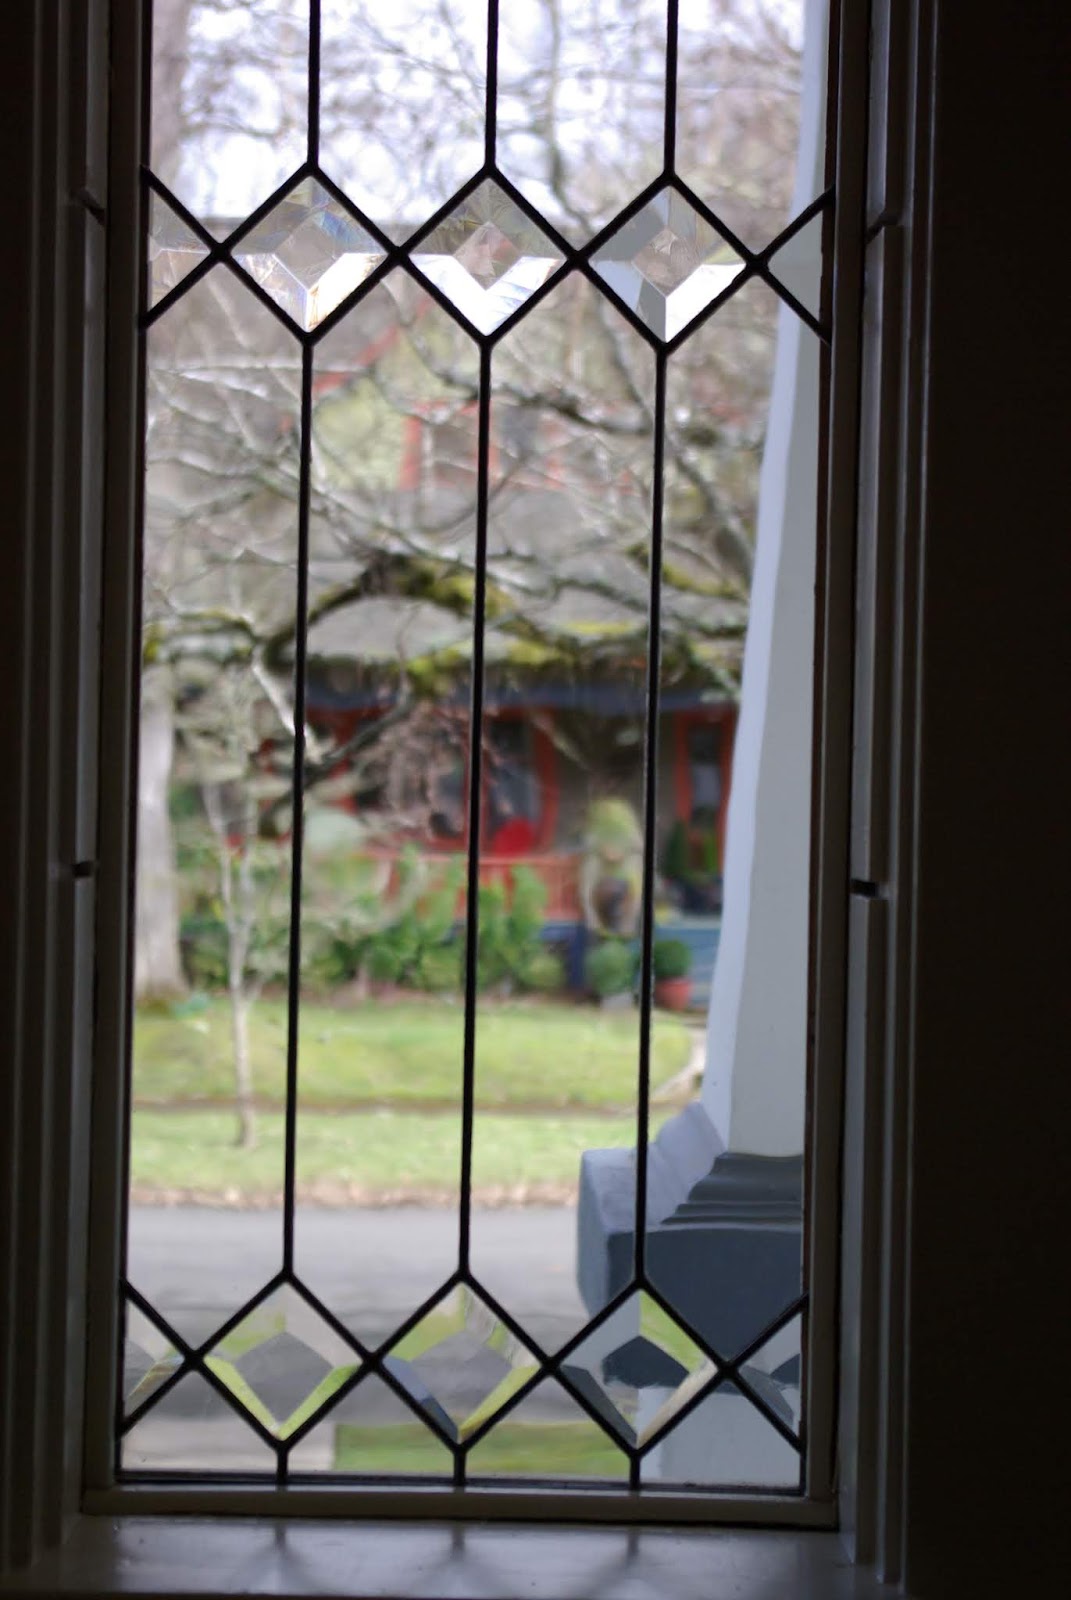
The installation process for the project I have been working on was quite intensive and went pretty smooth with a few minor issues that we solved quickly. There was general contractor Slavik of Grada Inc. to help in addition to the Roger from Adventure Metal who created the metal frames. I enjoyed working with them in the process of this project.
Here are some pictures of the installation.
One detail to look for is the difference in the glass color when the clouds are behind the panels vs when there is blue sky and direct sun. It is very different. We had a lot of fun observing the way the glass changes as the day progressed and what was in the background changed.
The large window in the top center is 8 ft tall by 6 ft wide to give you an idea of the scale.
The design was created by OSMOSE an interior design firm in Portland, OR, and I created some modifications suitable for glasswork and did the fabrication.
The purpose of my art is to nourish your soul through the enrichment of your surroundings with the use of customized and intentioned light, color and movement. This is achieved by creating custom stained glass windows and oil paintings.
Friday, September 6, 2019
Monday, September 2, 2019
Framing Large Glass Panels
In the current project that I have been sharing pictures the next step is putting the glass panels into the metal frames that have been recently painted. It has been a little complicated than I thought it would be and took almost twice as long to complete. The results are beautiful. I love the framework. The paint color is to match the existing window frame color.
Installation is right around the corner!
Tuesday, August 20, 2019
Getting Good at Cutting Glass
Cutting glass freehand takes quite a bit of practice, especially the inside curves as in the one pictured. Sometimes the glass breaks where you do not want it to.
Thursday, August 15, 2019
Large Residential Stained Glass Project
I have been working on a large project for 3 large windows in a living room area of a home in Portland, OR.
Designs for the large window in the center of these 3 windows is broken down into 3 sections and all 5 stained glass panels will be put into metal frames before being installed into the living room windows.
The first image shows the metal frames on the floor of my garage, the second is of me drawing out the designs, and the following ones are of the progression of a panel.
The longest panel is 86 inches tall by 24 inches wide.
Designs for the large window in the center of these 3 windows is broken down into 3 sections and all 5 stained glass panels will be put into metal frames before being installed into the living room windows.
The first image shows the metal frames on the floor of my garage, the second is of me drawing out the designs, and the following ones are of the progression of a panel.
The longest panel is 86 inches tall by 24 inches wide.
Labels:
art,
fabrication,
Framing,
interior design,
Living Room,
Stained glass,
windows
Friday, July 26, 2019
Bevels for a Front Door Repair
I had received a call from someone who has a beveled cluster design in a front door and a couple of the bevels have cracks in them. The type of glass that was used for these bevels is 1/4 inch thick glue chip glass. These bevel clusters are not made anymore so I had to order this type of glass and create the bevels. I also had to modify one of the shapes by splitting it into 2 shapes so I could create the inside curve.
Here area a few pictures showing the cracks and some of the bevel process.
Tuesday, July 23, 2019
Trip to Japan!
Last month my family and I traveled to Japan to visit my wife's family and did a lot of sightseeing and eating. I always enjoy visiting where my wife grew up and experiencing the culture. I love the way the old architecture really fits in with the surroundings and the colors and textures they use in their buildings and other things such as clothing. Their attention to detail is exquisite.
One of many things that I enjoy taking pictures of is the sewer hole covers. They are very ornate and can be colorful depending on the area. Here are a few examples.
Thursday, June 6, 2019
Opening Up My Art to Portland, OR!
On June 15 and 16 I will be showing and selling my artwork at the 2019 Portland Pride Waterfront Festival.
Show times are Sat 12-8pm and Sun 11:30am to 6 pm
I will be in booth M-02
Saturday, May 25, 2019
"Flowing Blue" Completed
Previous post I showed images of colored pieces being beveled. One of them was for this small panel I was working on. Beveling the edges of the color really adds dimension and changes the look, as well as changing the way the light flows through.
Thursday, April 25, 2019
Effects of Beveling Colored Glass
I am currently working on a glass panel where I am beveling clear glass and then beveling a color piece the shape of the center of the clear bevel and bonding them together. Beveling color pieces produces some fun results that I want to share with you.
When beveling colored glass, certain layers of the color is removed which changes the look of the color, lightening it and it also plays with the light more and adds more depth to the piece. Depending on the type of glass there may be different colors dispersed through the glass or a different color on one layer of the glass sheet. When beveling this type of glass I find the different colors are revealed or removed on certain layers which gives a very interesting look. Some color depending on where in the layers it is at will appear in different parts of the bevel.
I am using a blown glass that is a shade of blue with a layer of white opal. When I beveled it the white layer is removed in the bevel revealing the blue underneath the white.

When beveling colored glass, certain layers of the color is removed which changes the look of the color, lightening it and it also plays with the light more and adds more depth to the piece. Depending on the type of glass there may be different colors dispersed through the glass or a different color on one layer of the glass sheet. When beveling this type of glass I find the different colors are revealed or removed on certain layers which gives a very interesting look. Some color depending on where in the layers it is at will appear in different parts of the bevel.
I am using a blown glass that is a shade of blue with a layer of white opal. When I beveled it the white layer is removed in the bevel revealing the blue underneath the white.

I have enjoyed this process throughout the many years of doing this and it always is a joy to see different results from different types of glass. In all of the following examples, observe how color in the beveled edged changes, in some cases it becomes lighter, in others different colors that are in different layers of the glass are revealed.
This produces much more interest, light play and depth do the glass.
Monday, March 18, 2019
Response from Client
I received an email from the client whose entryway I had created glasswork for and posted
previously. I am very grateful that they are pleased with the outcome and for the opportunity
to have created it.
Here is what was said:
"Isaac's work was impeccable. He crafted some glass work for our front door and side
lights that complimented our home beautifully. He completed the work on time and on
budget. Isaac is a true craftsman and professional."
Labels:
Entryway,
Happy Customers,
interior design,
Stained glass
Tuesday, March 5, 2019
Restoring Historic Home Entryway
I posted a couple of times showing restoration work in progress on a home built in the early 1900s. Previous owners had removed the original designed glass panels and put in plain glass in the front door and thermopane windows in the sidelights with the exterior pane of glass being a clear textured glass. Here is what the entryway looked like before installing the new panels.
In different areas of the home the original glass windows still remain and I wanted to keep the feeling of the original work into the entryway and also adding my own touch to the piece.
Here is the entryway after removing the existing glass and adding in the new panels:
So much better than what was there! It now looks the way the it was intended to be. I added hand beveled glass and created them in a way that adds more depth, dimension and light play by changing the width of the bevel around the shape.
In looking at the bottom bevels the lower section is narrow and gets wider at the top. The bevels in the center of the panels are the same width as the widest part on the bottom bevels and the top row of bevels are the reverse from the bottom bevels. I am very pleased with how these turned out and the clients are ecstatic!
In different areas of the home the original glass windows still remain and I wanted to keep the feeling of the original work into the entryway and also adding my own touch to the piece.
Here is the entryway after removing the existing glass and adding in the new panels:
So much better than what was there! It now looks the way the it was intended to be. I added hand beveled glass and created them in a way that adds more depth, dimension and light play by changing the width of the bevel around the shape.
In looking at the bottom bevels the lower section is narrow and gets wider at the top. The bevels in the center of the panels are the same width as the widest part on the bottom bevels and the top row of bevels are the reverse from the bottom bevels. I am very pleased with how these turned out and the clients are ecstatic!
Saturday, February 23, 2019
Enhancing a Family Room Window with Art Glass!
I installed a large stained/architectural glass panel for a residential family room which provides privacy, interest and dynamic light play. The window faces the street where people walk by, and neighbors can see in when the interior lights are on. They now have the option to leaving the curtains open which they wanted instead of darkening the area by having them closed. The panel flows just beneath the locking mechanism on the double slider thermopane window so they can unlock and open the slider. I love how the texture plays with the background and the light.
Here is before installing the window:
Here is what is looks like afterward:
Detail shots and of me cleaning the backside of the panel:
Here is before installing the window:
Here is what is looks like afterward:
Detail shots and of me cleaning the backside of the panel:
Thursday, January 24, 2019
Restoration Project Continued
I have been working on the restoration project that I had posted about previously. The design compliments the original panels that are throughout the house as well as adding my own touch by adding hand beveled glass with the bevels having different widths to add depth and dimension. I am finishing up the panel for the front door and will begin the sidelight windows soon.
The bottom bevels have the narrow part on the bottom with the widest part leading to the center. The center bevels have the widest bevels and the top is opposite of the bottom so that all the widest part of the bevels lead to the center. I am using zinc came for stability just as the rest of the windows were fabricated in the 1920s.
Subscribe to:
Posts (Atom)