Wednesday, October 27, 2010

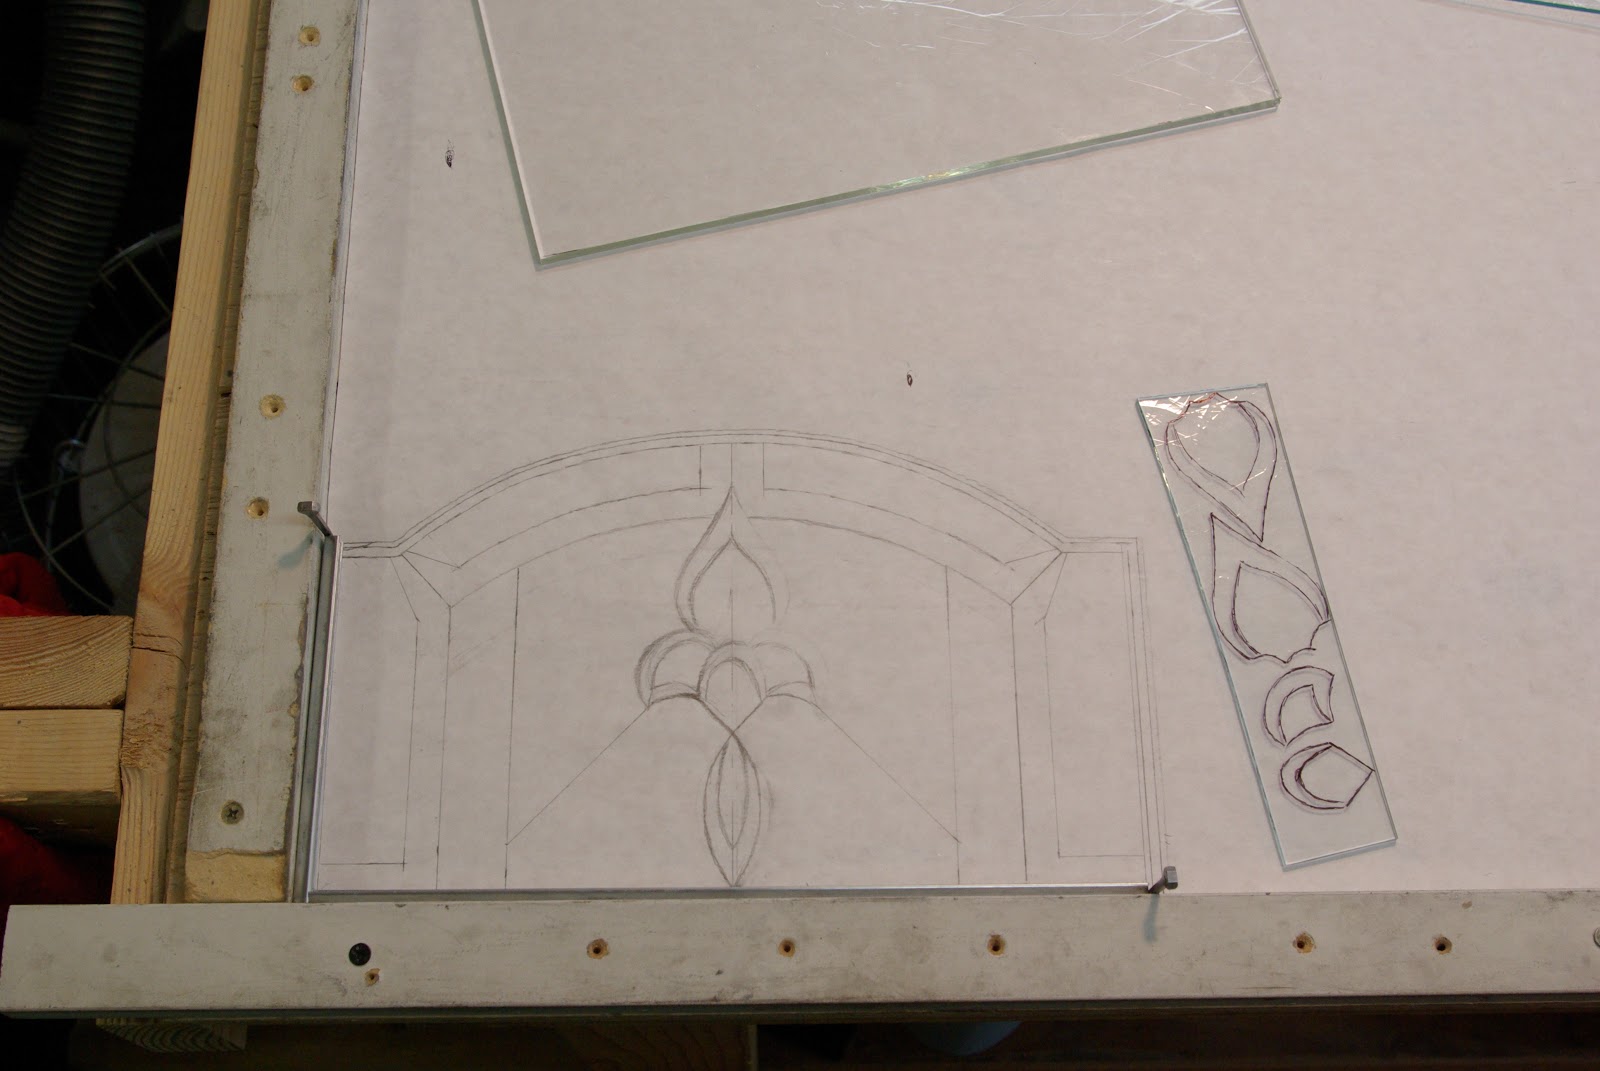
Leaded glass window process, step 6

This image show the zinc border on 2 sides, a beveled piece in place with a strip of lead cut and set into place on the right side of the beveled piece.  The gray glass is set in with the piece drawn out, ready to be cut.  Horshoe nail top left to hold frame in place.

Tuesday, October 26, 2010

Leaded glass window process, step 5 beveling

Bevels completed through the polish (final) stage. 

Friday, October 22, 2010

Leaded glass window process, step 4 beveling

Images show stages 3 (pre-polish) and 4 (polish) of beveling.  The wheel in the 2nd picture is the polishing wheel for straight edge and outside curves.

Tuesday, October 19, 2010

Leaded glass window process, step 3 beveling

These images show the first 2 stages of beveling- rough as seen on the straight edge and smooth on the inside curves.  2 more stages to go. 

Saturday, October 16, 2010

Aboriginal art at WSU

I visited WSU's art gallery yesterday and was pleasantly surprised at the exhibit- Contemporary Australian Aboriginal Art.  Lots of color and visual texture.  Fun to learn that they use symbols which have specific meaning throughout the design and texture.  An example is a horseshoe shape in the middle of a circle means woman or adult.  This symbol may be repeated to create a design within the whole piece.  It was fun to see this work.

Getting ready for hand beveling, step 2

The next stage is to cut the glass for hand beveled portions of the design.  I draw the bevels on the glass since I do not do an even bevel all around the shape (this is explained in a previous blog).

Wednesday, October 13, 2010

Leaded glass window process, step 1

The first step is to set up a right angle corner and lay out a sheet of paper to draw the design on.  I tend to also draw the bevels that I will be making.  The glass piece on the side shows 5 of the 9 shapes that will be hand beveled.